

How to replace sauna stones to your electric or wood-burning heater
This is a 6-step guide to successfully change your sauna stones. Sauna stones are the first perishable part of a sauna installation. Their service interval depends on the frequency of use and type of stones being used. A failure to maintain stones in good condition and properly stacked causes several issues. Worn-out stones can result in foul smell and poor air quality, slow heating time, unpleasant löyly, increased electricity consumption, sauna heater malfunction, and eventually, the breakdown of heating elements. Luckily, anyone can replace the stones with these instructions in an hour or two at most.
When should the stones in an electric sauna heater be changed?
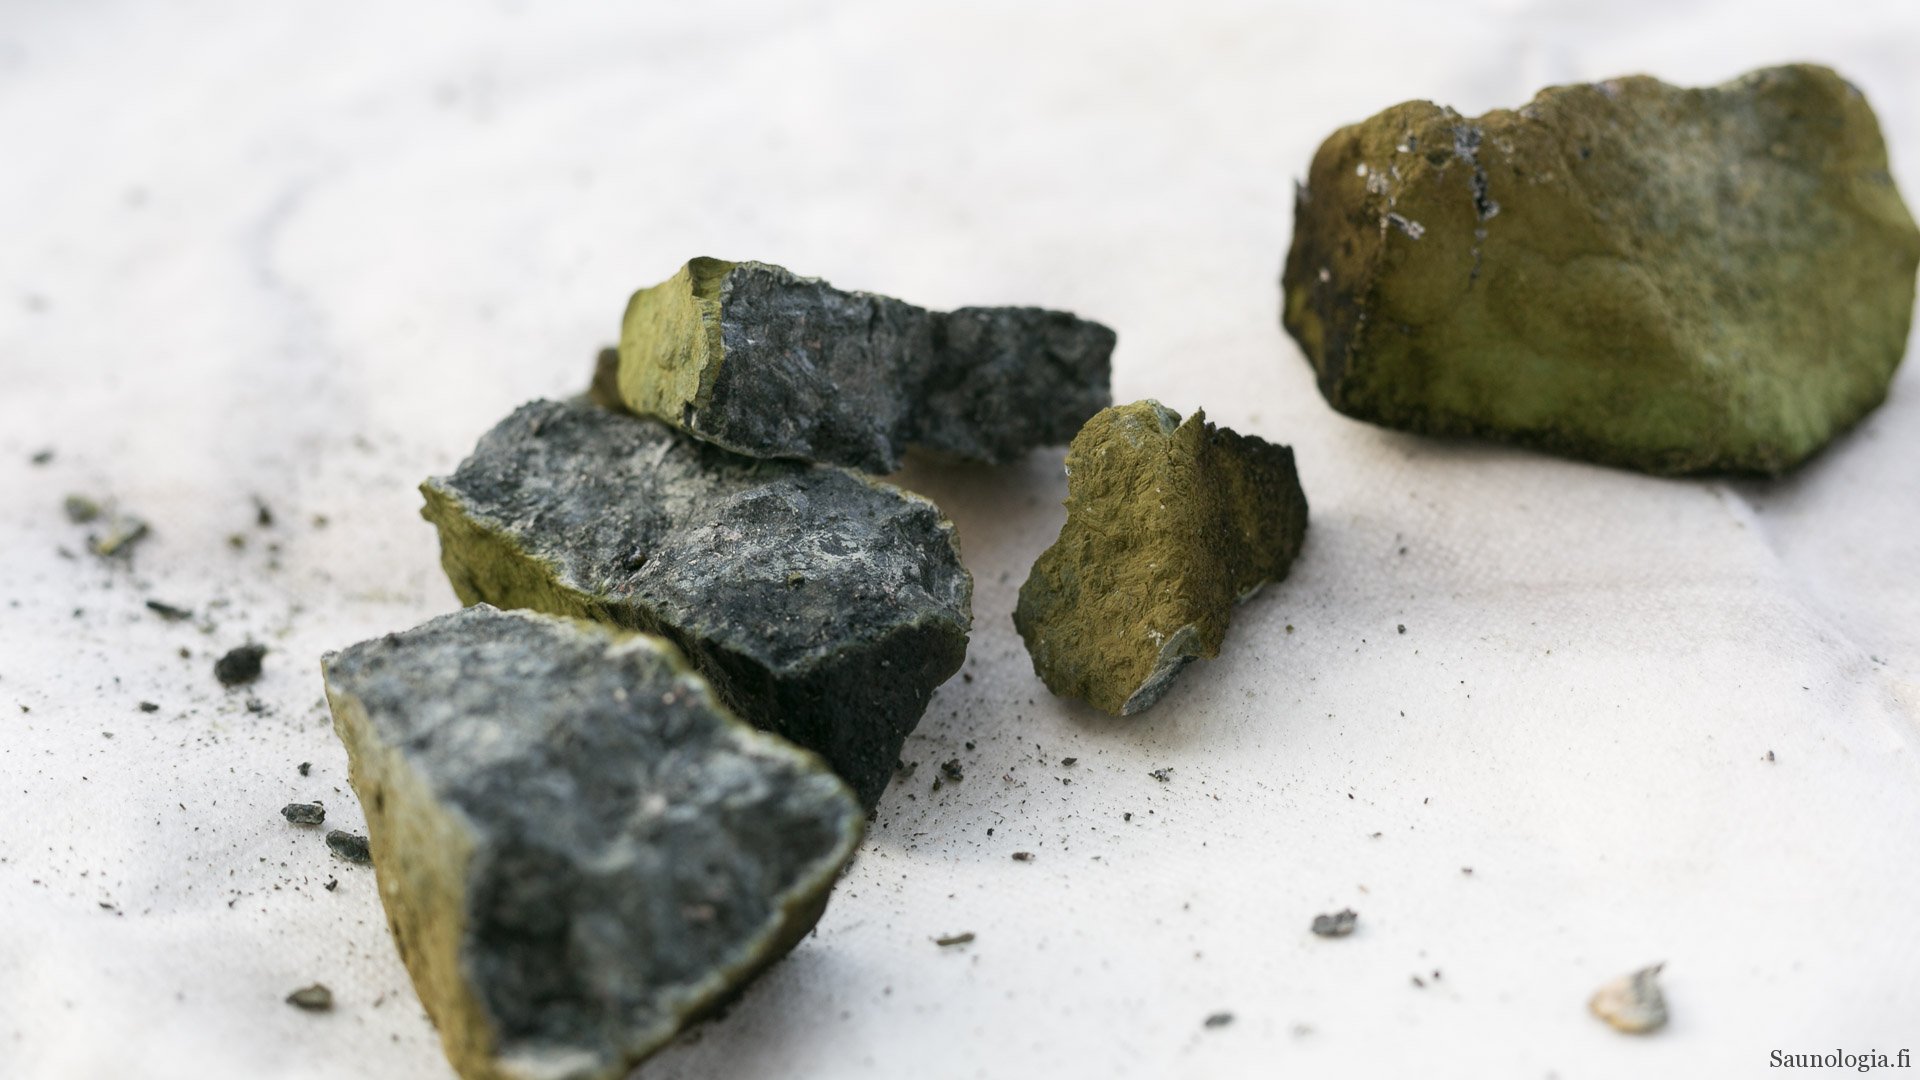
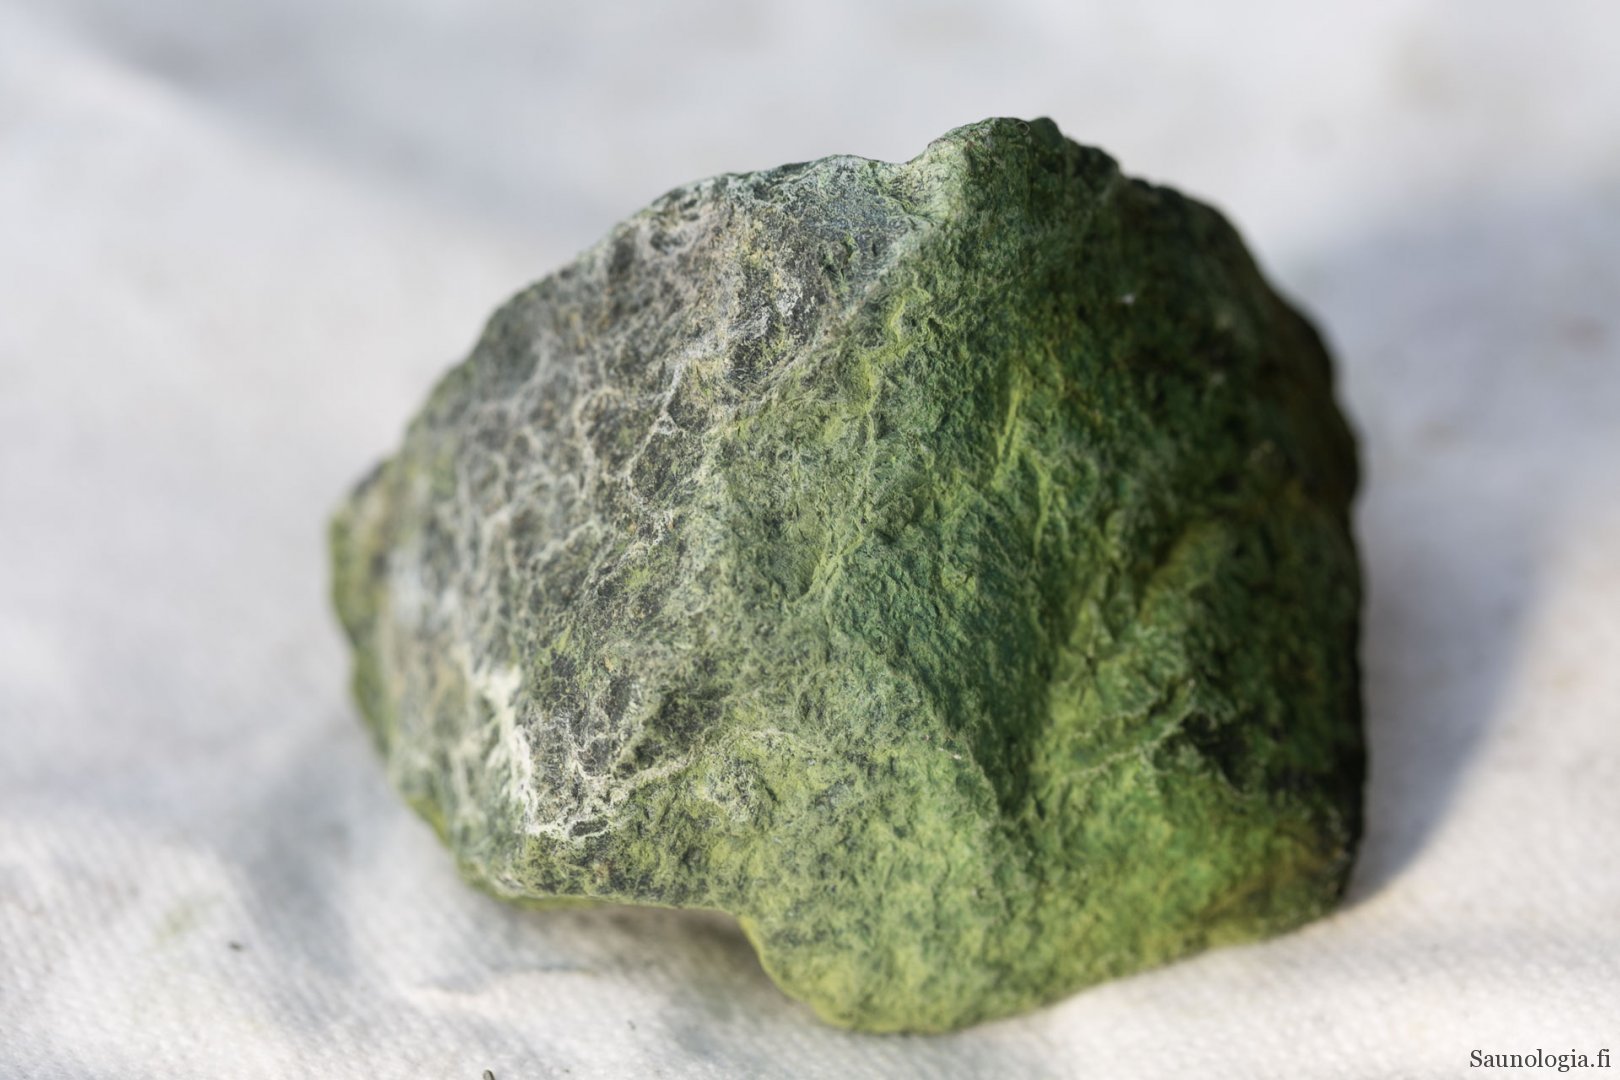
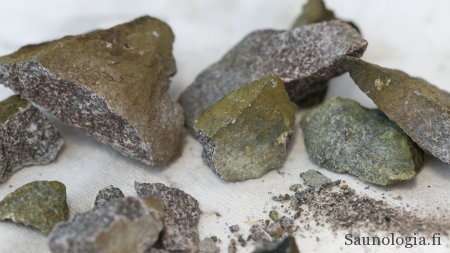
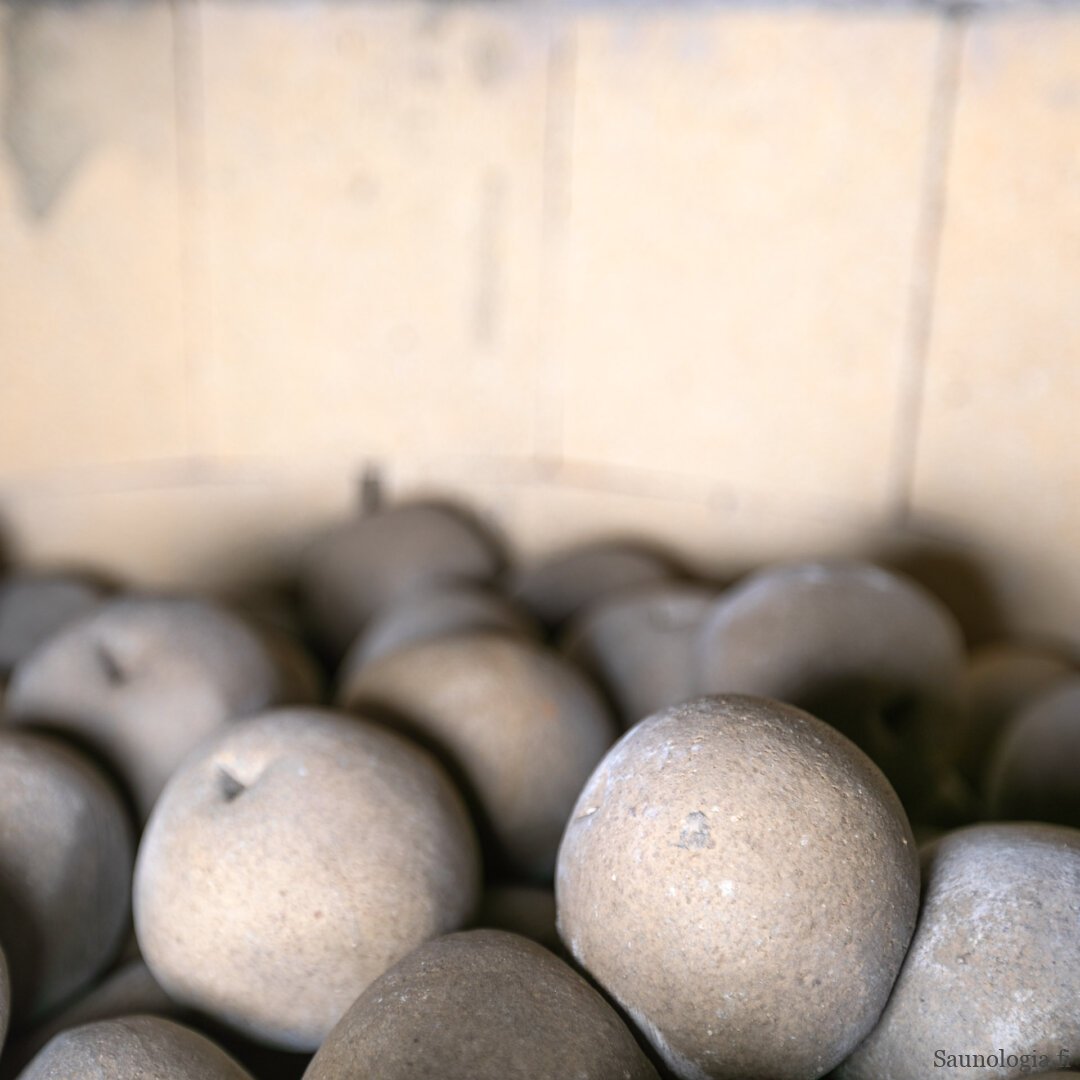
The stones in a sauna heater degrade over time. The more frequently the heater is used, and water is thrown on the stones to create löyly (sauna steam), the more the stones wear down. This wear is indicated by stone debris and dust accumulating on the floor in front of the heater. The stones on the surface of the heater turn pale gray or become discolored (white, green, purple, any mineral color) by the mineral content of the water.
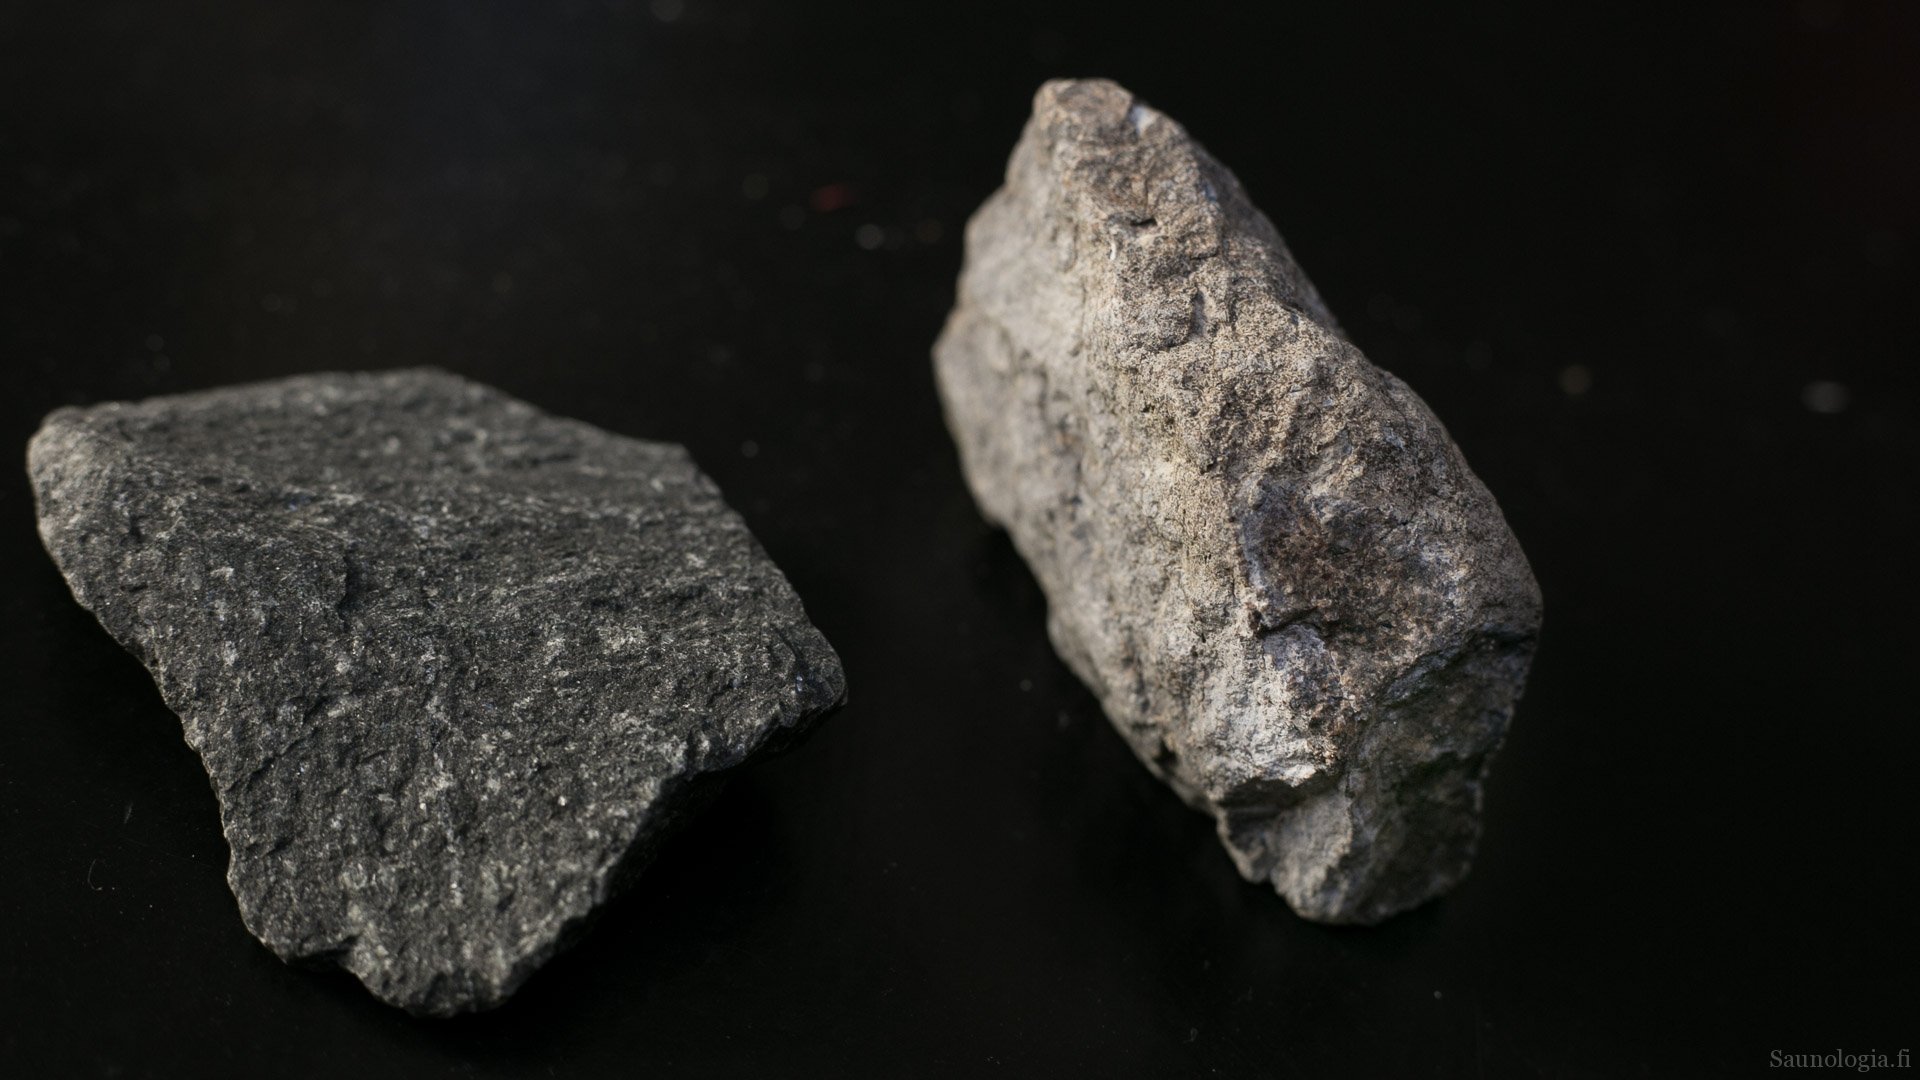
On the right: a stone that has been in use for a long time is clearly lighter and rounded at its edges
Test the stones before discarding them
It is unnecessary to replace old stones just because they are old if they remain in good condition. Most of the time, in private saunas, you can get away with only a partial replacement, just pick and choose the ones to replace with care. If you use inexpensive stones, there is no sense in spending time selecting or testing them, just replace them all.
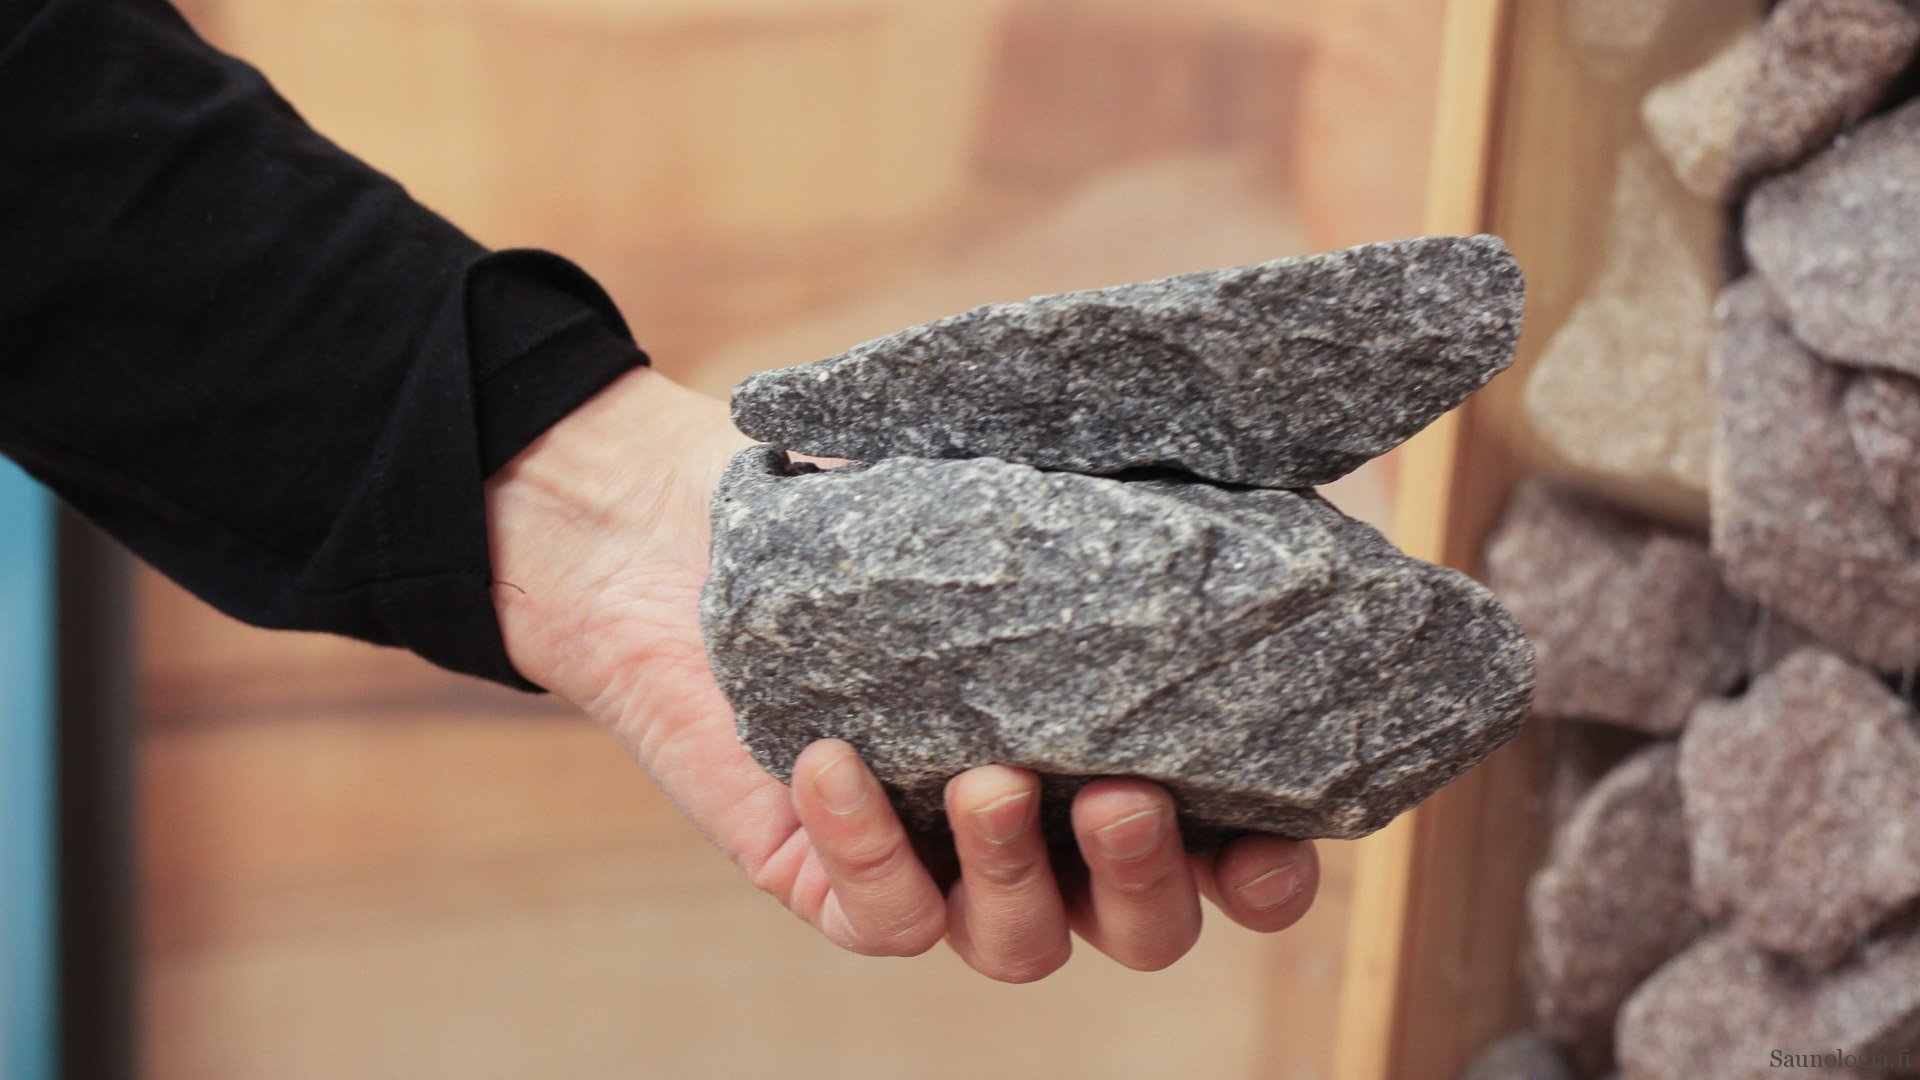
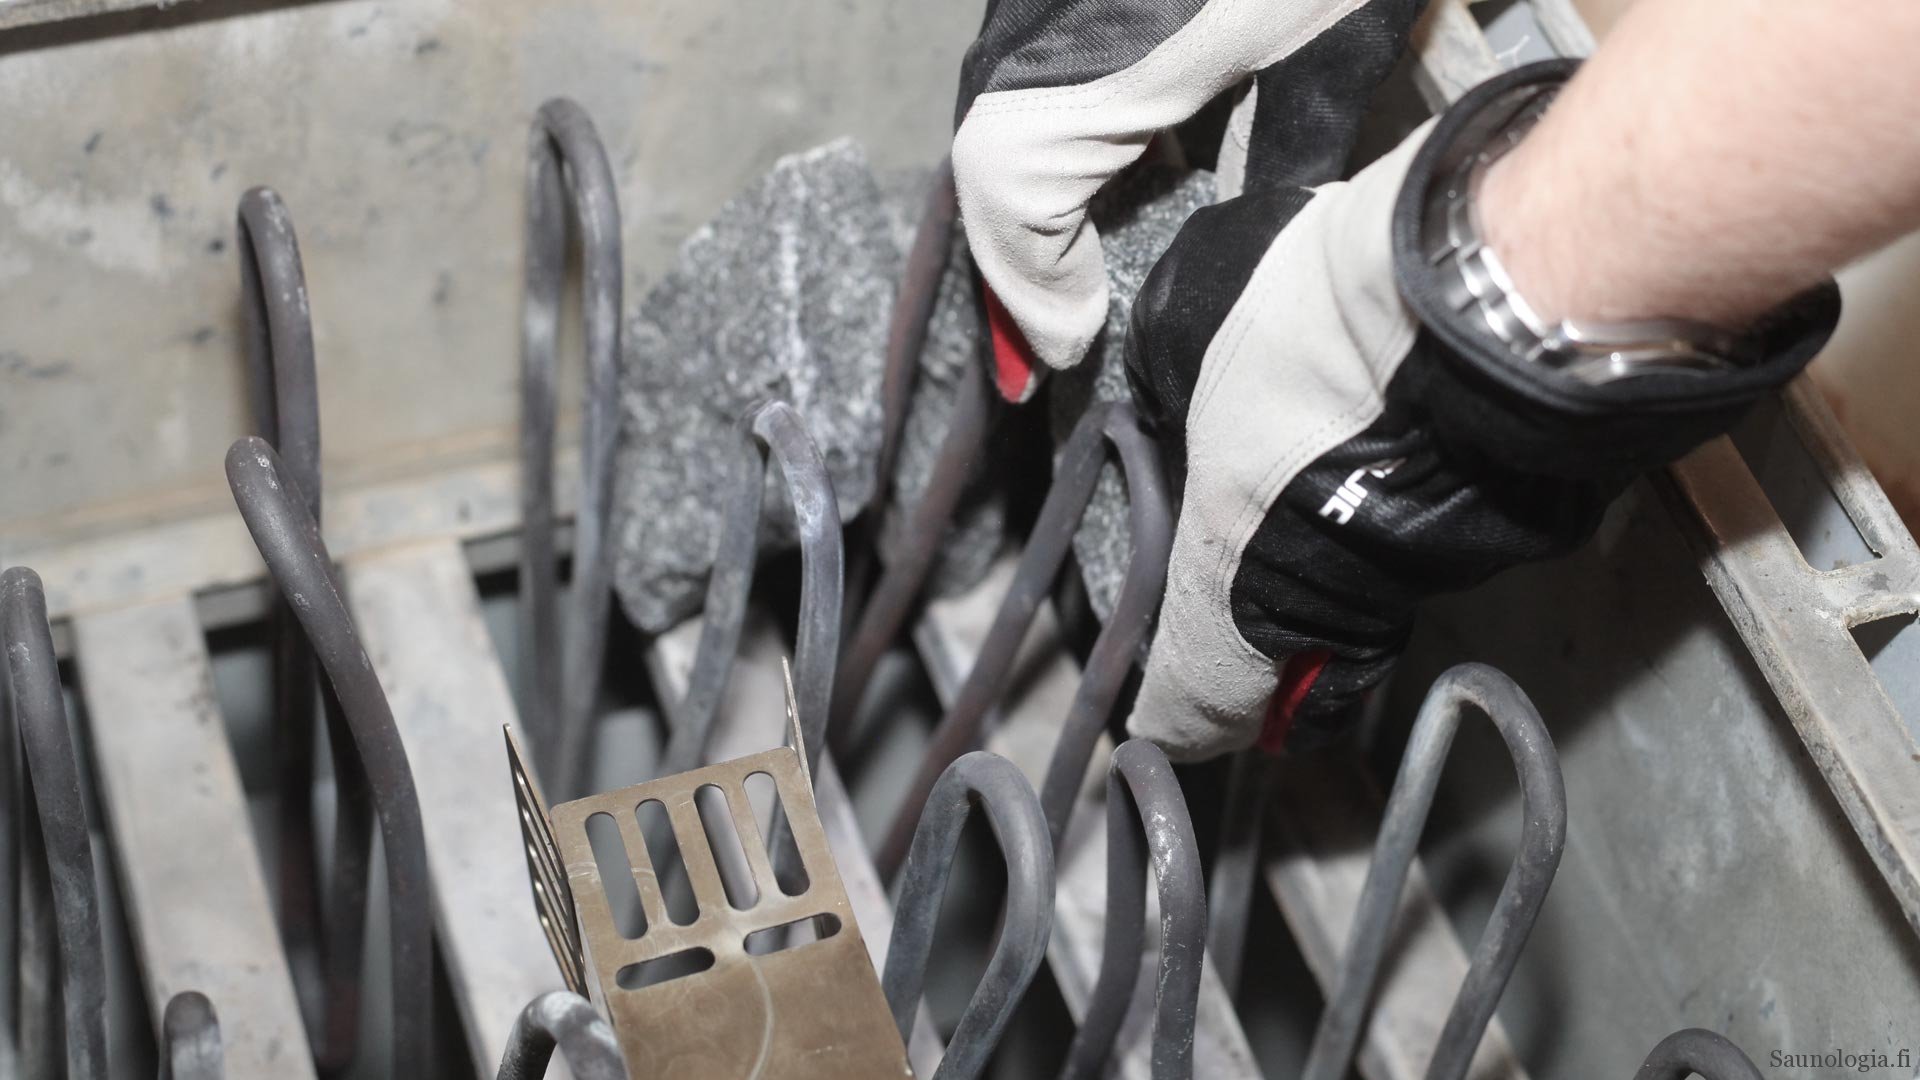
There is a simple test to identify a worn-out stone. When you strike them together, old stones sound soft or hollow, or fall into pieces. In an electric heater, the stones age first from the top, in a wood-burning heater, from the bottom. However, there can be significant differences in aging across heater models due to their different designs.
See the man action demonstrating the test:
Step 1: Acquiring the right amount of new stones
Figure out how many stones are needed for the heater if you need to replace all of them. Find out from the heater’s user manual, or if it is unavailable, from the internet, how much stones the heater can accommodate. The number of stones is given in kilograms or pounds and is indicative. The amount of stones needed is usually less (up to 10%) than specified, hardly ever more. The amount needed ranges from 20-200 kg (40 lbs to 440 lbs).
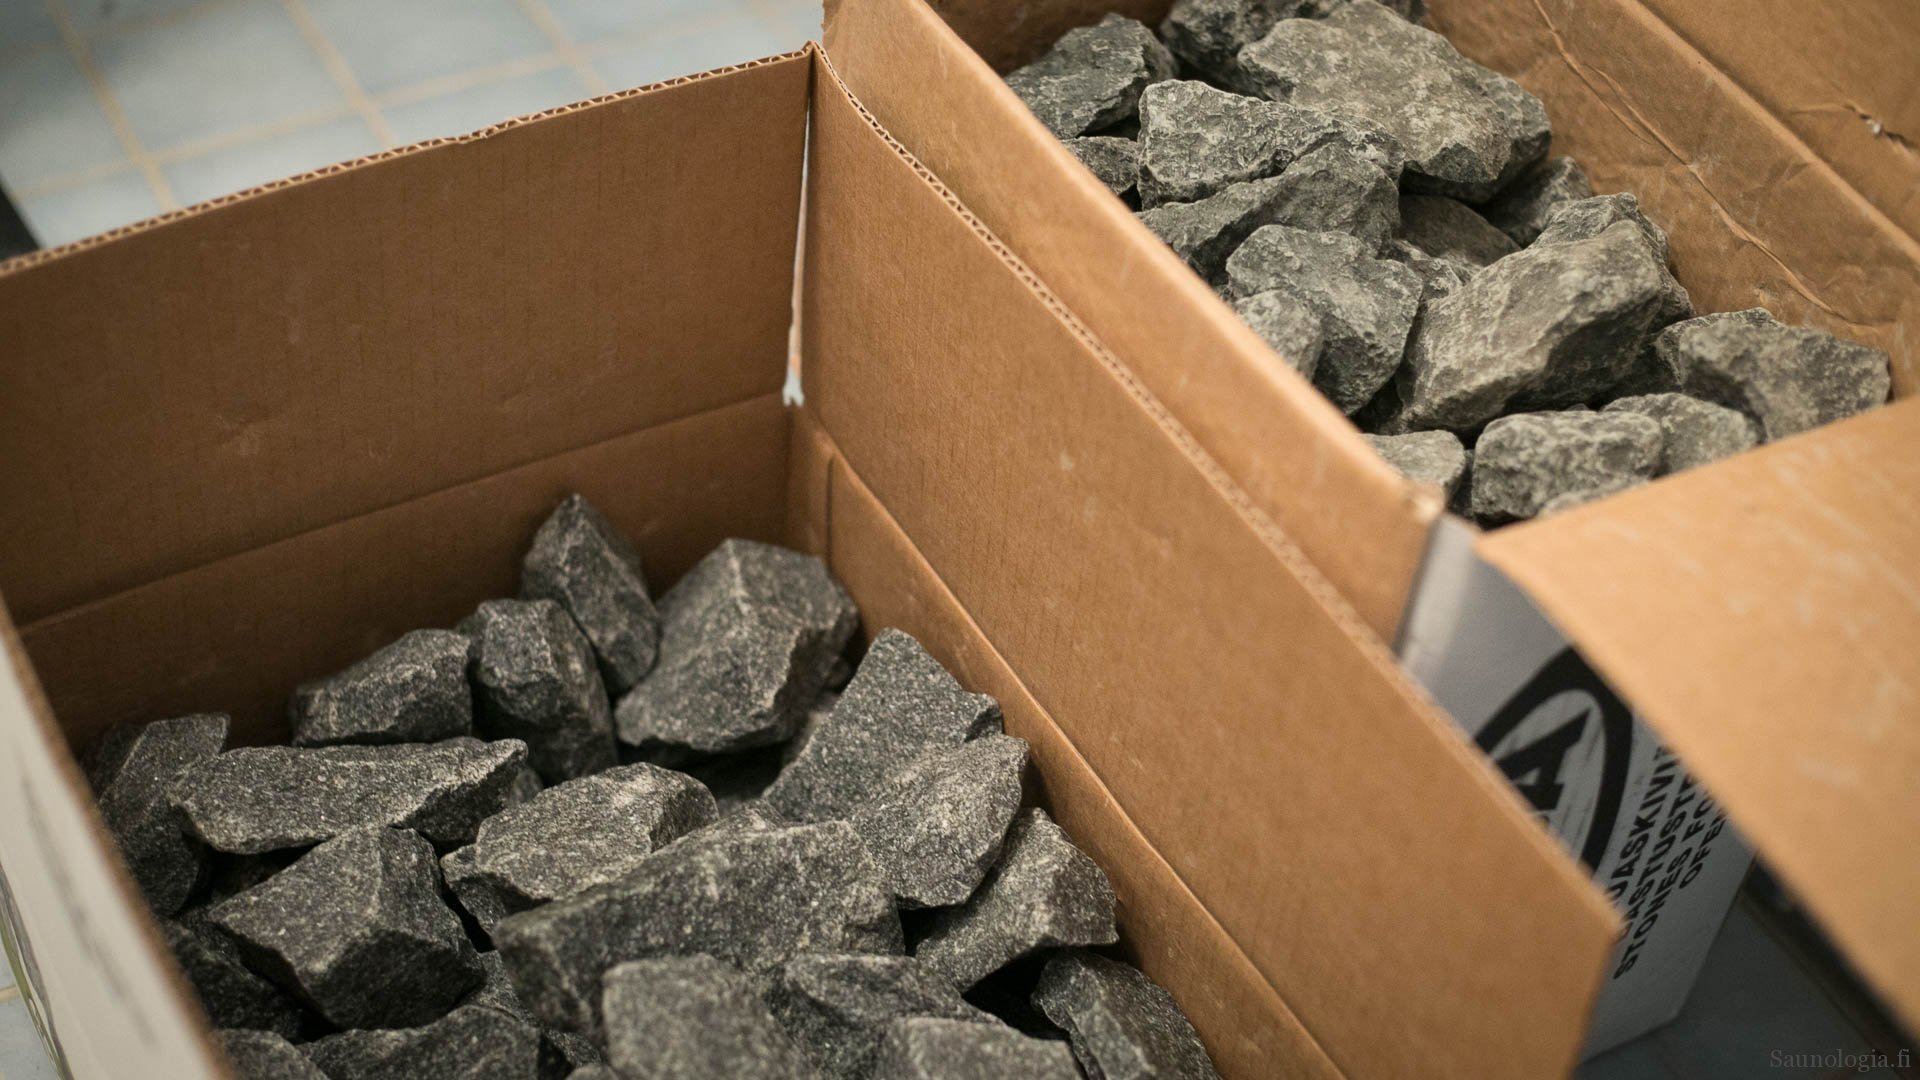
Sauna stones are generally sold in 15-25 kg packages (20 to 60 lbs). The sizes of individual stones in natural stones (like olivine diabase) can vary quite a bit. I recommend buying one box extra. This way, you can be sure to fill the heater with stones of the correct size. The stones will eventually be used when you change stones the next time.
If information about stones is unavailable, it’s best to start the job by removing stones from the heater into several large buckets. When you get an approximate idea of how much the stones weigh, you can buy a corresponding number of new stones. If you use soft plastic buckets, line them with newspaper or similar to avoid plastic residue, as the stones scrape the plastic quickly. That is, if it seems like the stones can still be used.
One 10-liter bucketful of stones weighs about 15 kg (3 gallon bucket, 35 lbs stones). With this procedure, you get a detailed understanding of how many stones you really need. On the other hand, stones have an infinite shelf life; they can be well stored in cold outdoor storage, and only the cardboard box may suffer. So don’t be worried about getting some extra; you can use them in future.
Step 1.1 The right size of stones
Electric heaters generally use the smallest stone size, so called 5-10 cm (2 to 4”). In large electric heaters, 10-15 cm (4 to 6 “) stones can also be used. The user instructions usually also mention which size stones are intended for use.
You should use neither too big nor too small stones in an electric heater. Too small stones tightly packed slow down heating, too big stones will do the opposite and leave the heater itself too cold for proper löyly.
Wood-burning heaters use larger stones than electric heaters. Wood-burning stoves can also afford a looser arrangement of stones than electric heaters.
Step 1.2 The right quality of stones
I only recommend commercially produced and quality-controlled sauna stones. You should not use just any available landscaping rocks. I know some people, also in Finland, like to collect their natural stones (igneous or magmatic quality), but especially in Finland, that is not wise.
Sauna stones must be of high, uniform quality that can stand at high temperatures for a long time without cracking or emitting dangerous gases. They must be clear of dangerous minerals such as asbestos. If you can’t be sure the rock you’ve picked up from the riverside is safe and sound, don’t put it in your sauna, or you risk breathing in unhealthy particles.
There are a few varieties of sauna stones generally available. I believe the world’s most popular stone variety currently is Finnish olivine diabase, which is produced in Western Finland and shipped all over the world with various brand names. In Finland, the stone is very affordable and presents a good compromise between essential properties of durability, heat conductivity, and heat storage capacity. It is available in several sizes and shapes, including rounded.
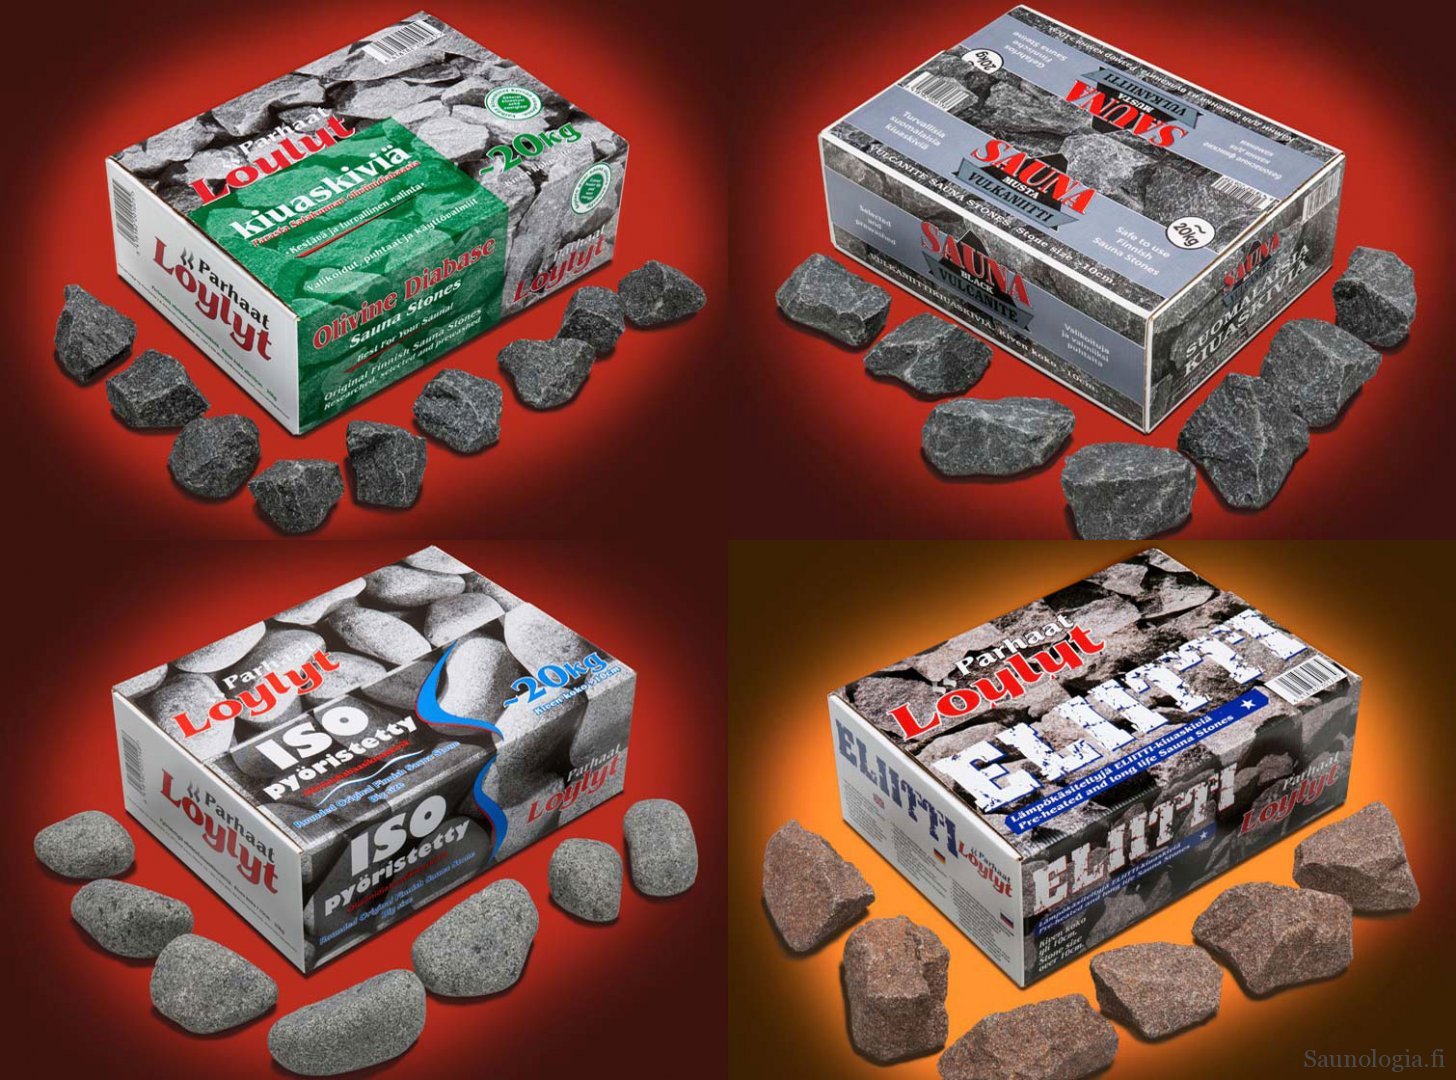
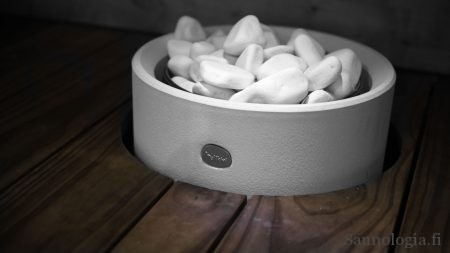
The most expensive are specially manufactured ceramic, thermally treated, and volcanic stones. Also, soapstone and white sauna stones are more expensive, although both are suitable only for surface or decorative stones to be used on the surface of the heater.
If you can find other natural stones designed for sauna use, feel free to try them. Only be vary of that some stones are foremost for decoration and should be only placed on top of the heater. There, you can observe their degradation, which happens faster than in standard stones. For example, white, calcareous sauna stones should only be used on the surface of the heater.
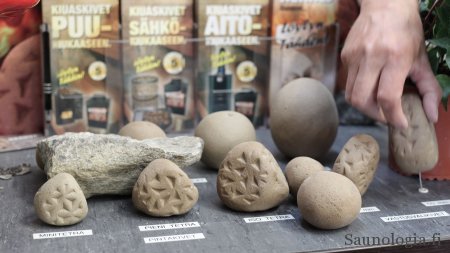
In Finland, many public and heavy-duty saunas utilize ceramic sauna “stones.” According to the original research I have done at Saunologia, they can yield superior durability in comparison to natural stones. A variety called Kerkes is also available in numerous shapes and sizes, which guarantees a good fit with many types of heaters.
The downsides for ceramic stones include high prices, global availability, and lower heat storage capacity. Most manufacturers also explicitly forbid ceramic stones, so it may void heater’s warranty. I don’t understand the policy, but I’m not making the rules. Their popularity in public sauna settings is explained by the fact that replacing stones in a commercial setting is always more expensive than just the work required to get the work done.
Step 2: Empty and clean the heater
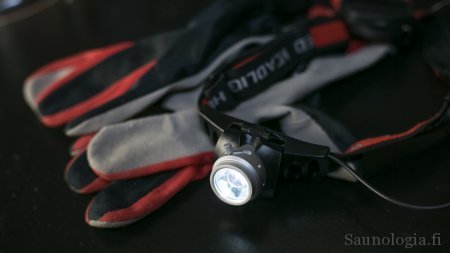
Recommend tools for heater maintenance:
- grease-free gloves,
- headlamp,
- vacuum cleaner.
I recommend a complete cleaning of the heater every now and then even if you don’t plan to exchange all stones. This allows you to do a heater inspection at the same time.
When fussing with the heater, use protective gloves. Heaters often have sharp metal edges, as do chipped stones. Also, ensure that the electric heater does not accidentally turn on during the operation. This can be guaranteed if you remove the fuse, i.e., the circuit breaker, for the duration of the work.
Empty the old stones into buckets, wheelbarrows, or other weight-bearing containers. Use a headlamp to ensure you can see what you’re doing. Small pieces of rock are often hiding in tiny crevices in the bottom of the heater.
Some electric heaters have removable parts, such as mesh or plates protecting heating elements, which must come off during operation. Consult the user manual if you are uncertain if your heater requires this type of disassembly.
An electric heater without stones can be very light. Sometimes floor-standing models can be turned upside down to get rid of those pesky stone chips.
When all stone pieces have been removed, you can vacuum the heater’s interior if there is rock dust inside the heater. If you don’t, the dust can end up on the floor or elsewhere in the sauna. Finally, clean the floor below and around the heater if possible.
Step 3: Inspection of heater integrity
In a wood-burning stove, check the firebox for any signs of wear. This usually appears in the welding seams in the top of the firebox. Also, observe that the flue connection is in place. Any visible cracking calls for repair or renewing the heater.
For electric heaters, visually inspect the heating elements. In tall heaters, the elements tend to twist and bend but don’t worry about that. Later on, try to use the stones to keep the elements apart. Keep an eye on visible fracturing of the element surface, which may indicate a broken element. Bends alone are not an issue.
Never run an electric heater without the rock for more than five minutes, it’s a fire hazard!
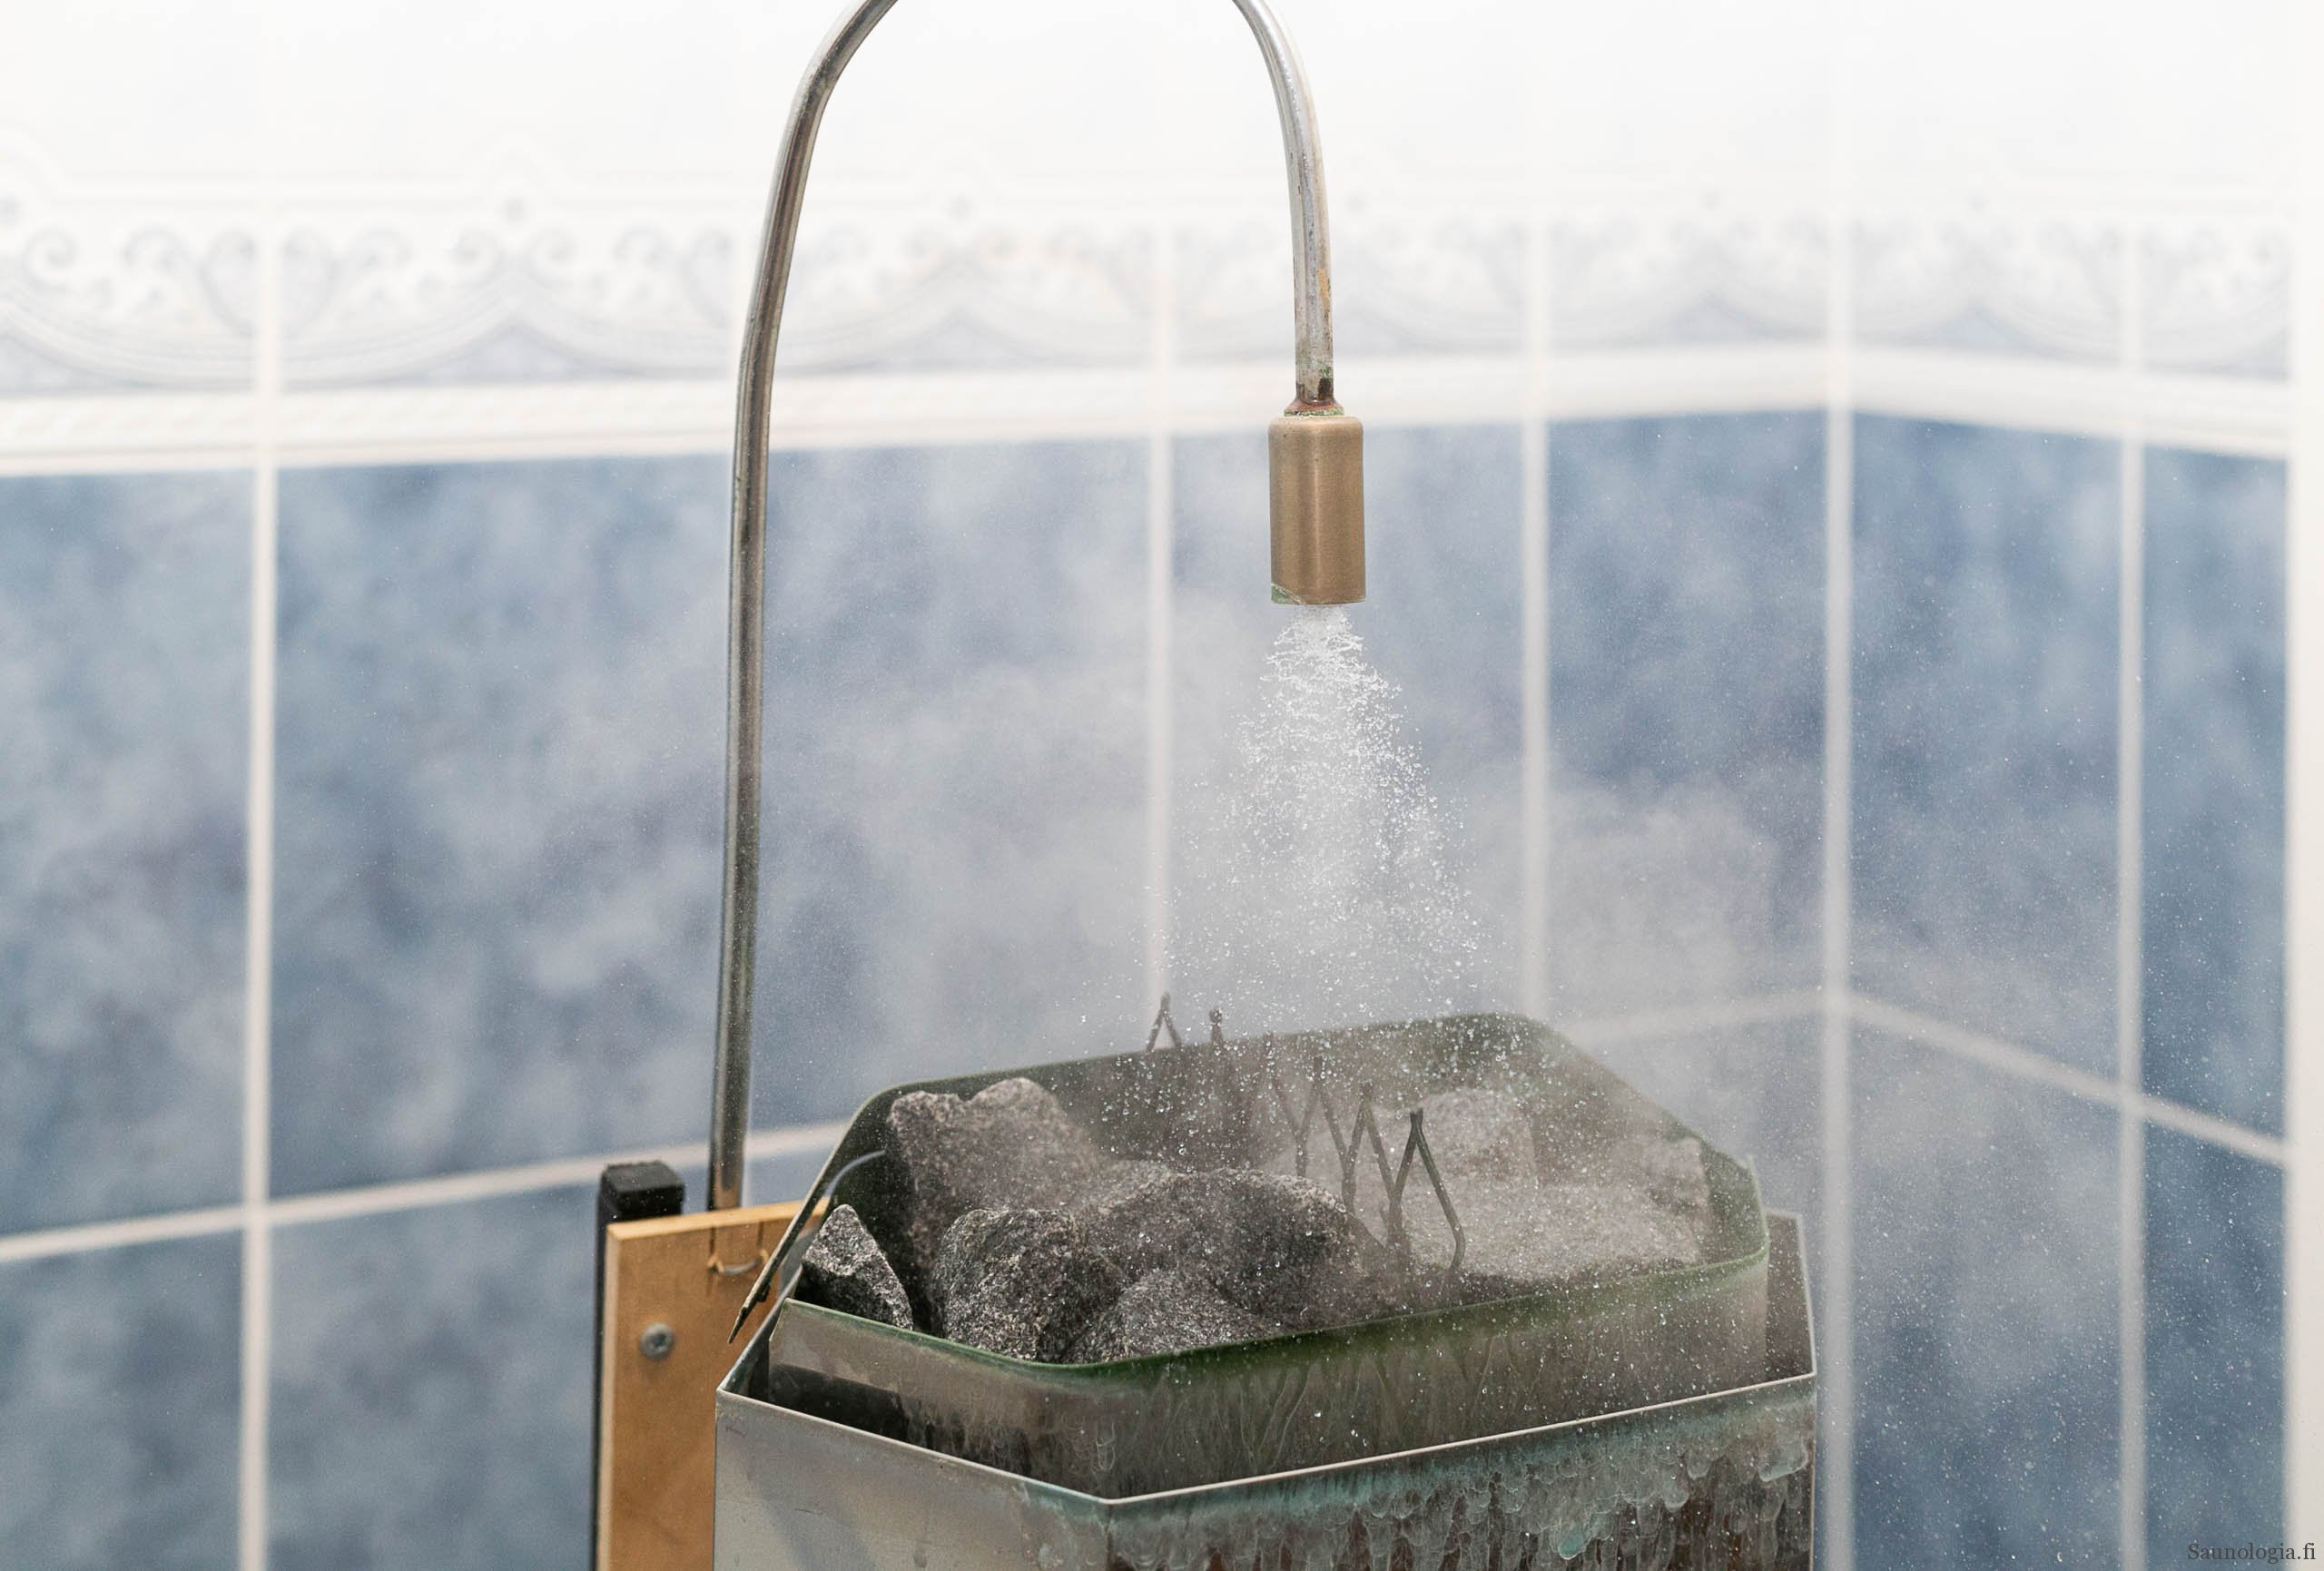
Test: You can check suspected failures by very briefly powering on the heater at a maximum a couple of minutes, so the elements start to glow faintly. If an element is not glowing, it is broken and must be replaced. Never run an electric heater without the rock for more than five minutes, it’s a fire hazard!

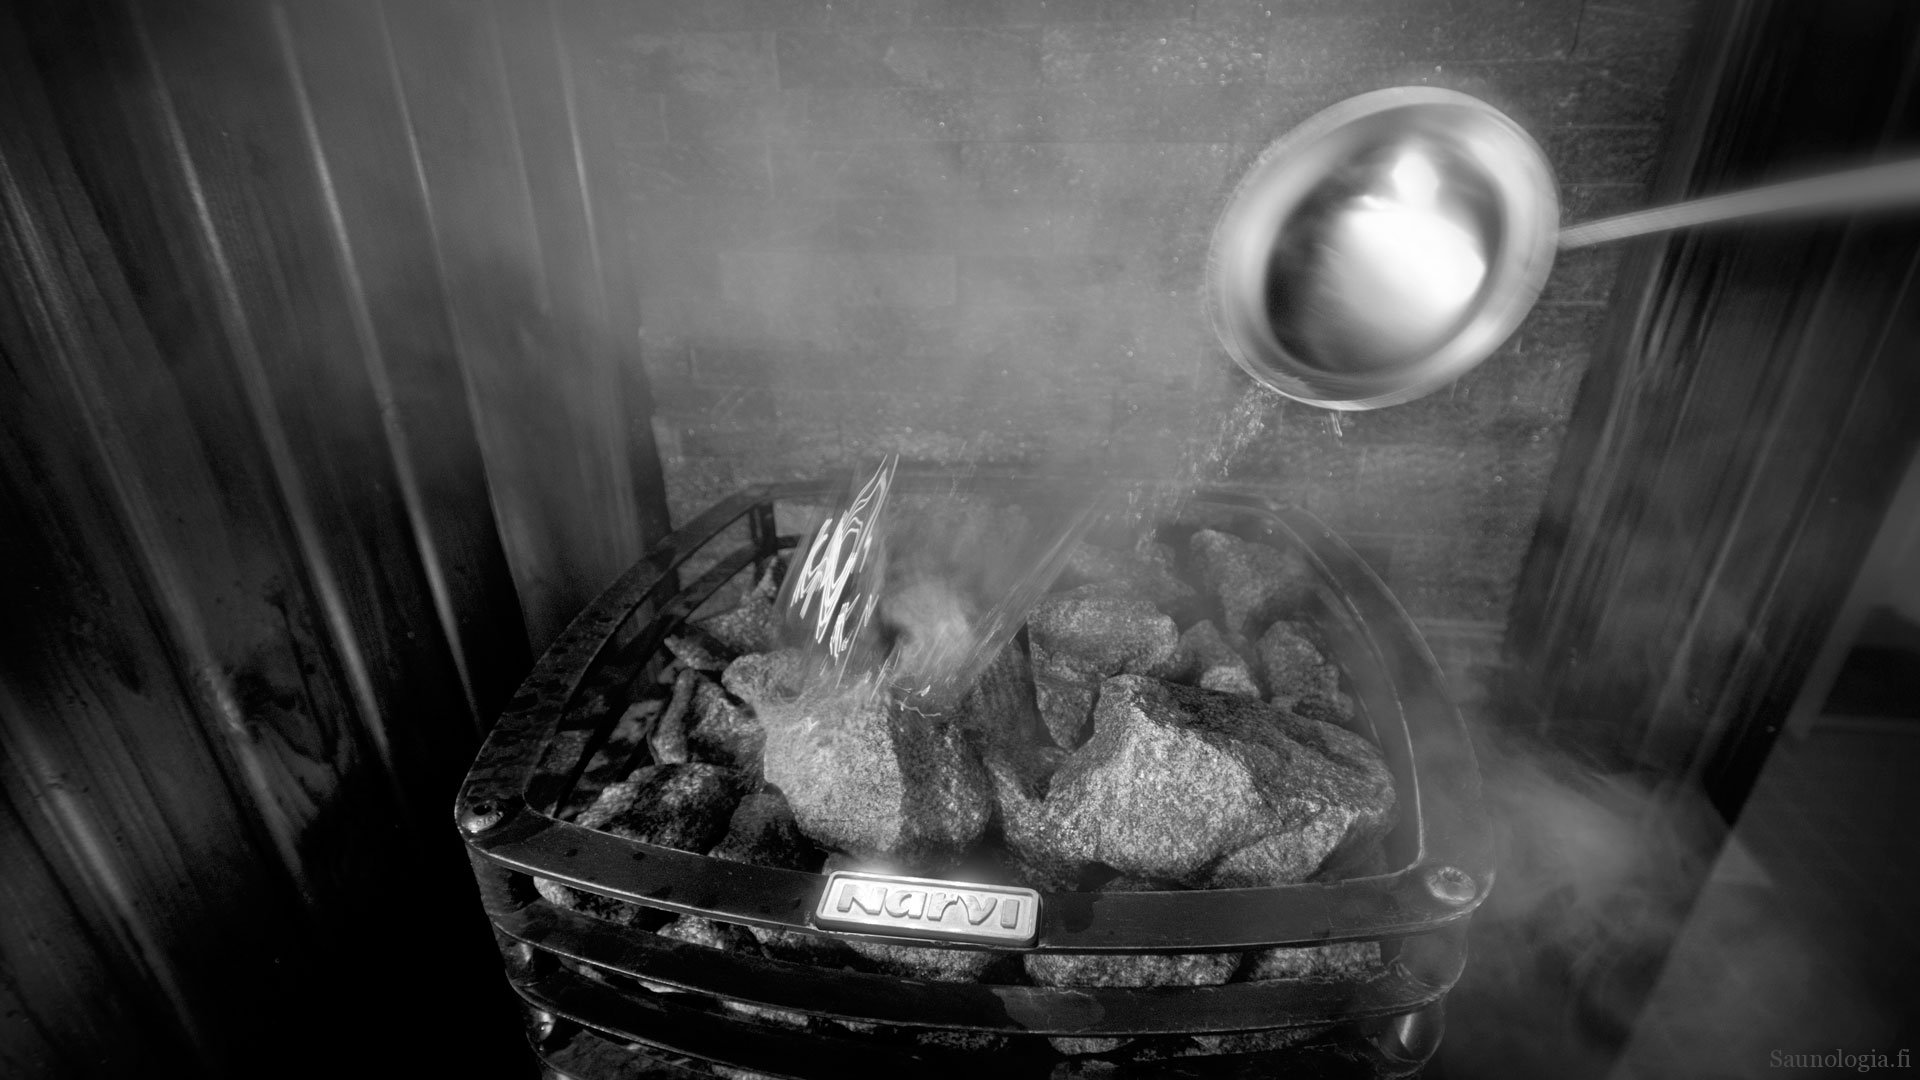
Step 4: Rinse and sort the new stones
(This step is for real connoisseurs, most people can skip this)
Commercially produced heater stones have been washed before packaging, so washing them further is unnecessary. Stones will nevertheless continue to release dust during use. On the other hand, the stones rub against each other during transport, and their surface becomes dusty. This comes off simply by sloshing the stone in water. However, do not leave ceramic stones in water for a long time, as they absorb moisture and can easily crack if heated before drying thoroughly.
As I take out the stones and rinse them, I usually sort the stones into different-sized piles. Among stones namely of the same size, there are usually at least three different sizes of stones by my eye.

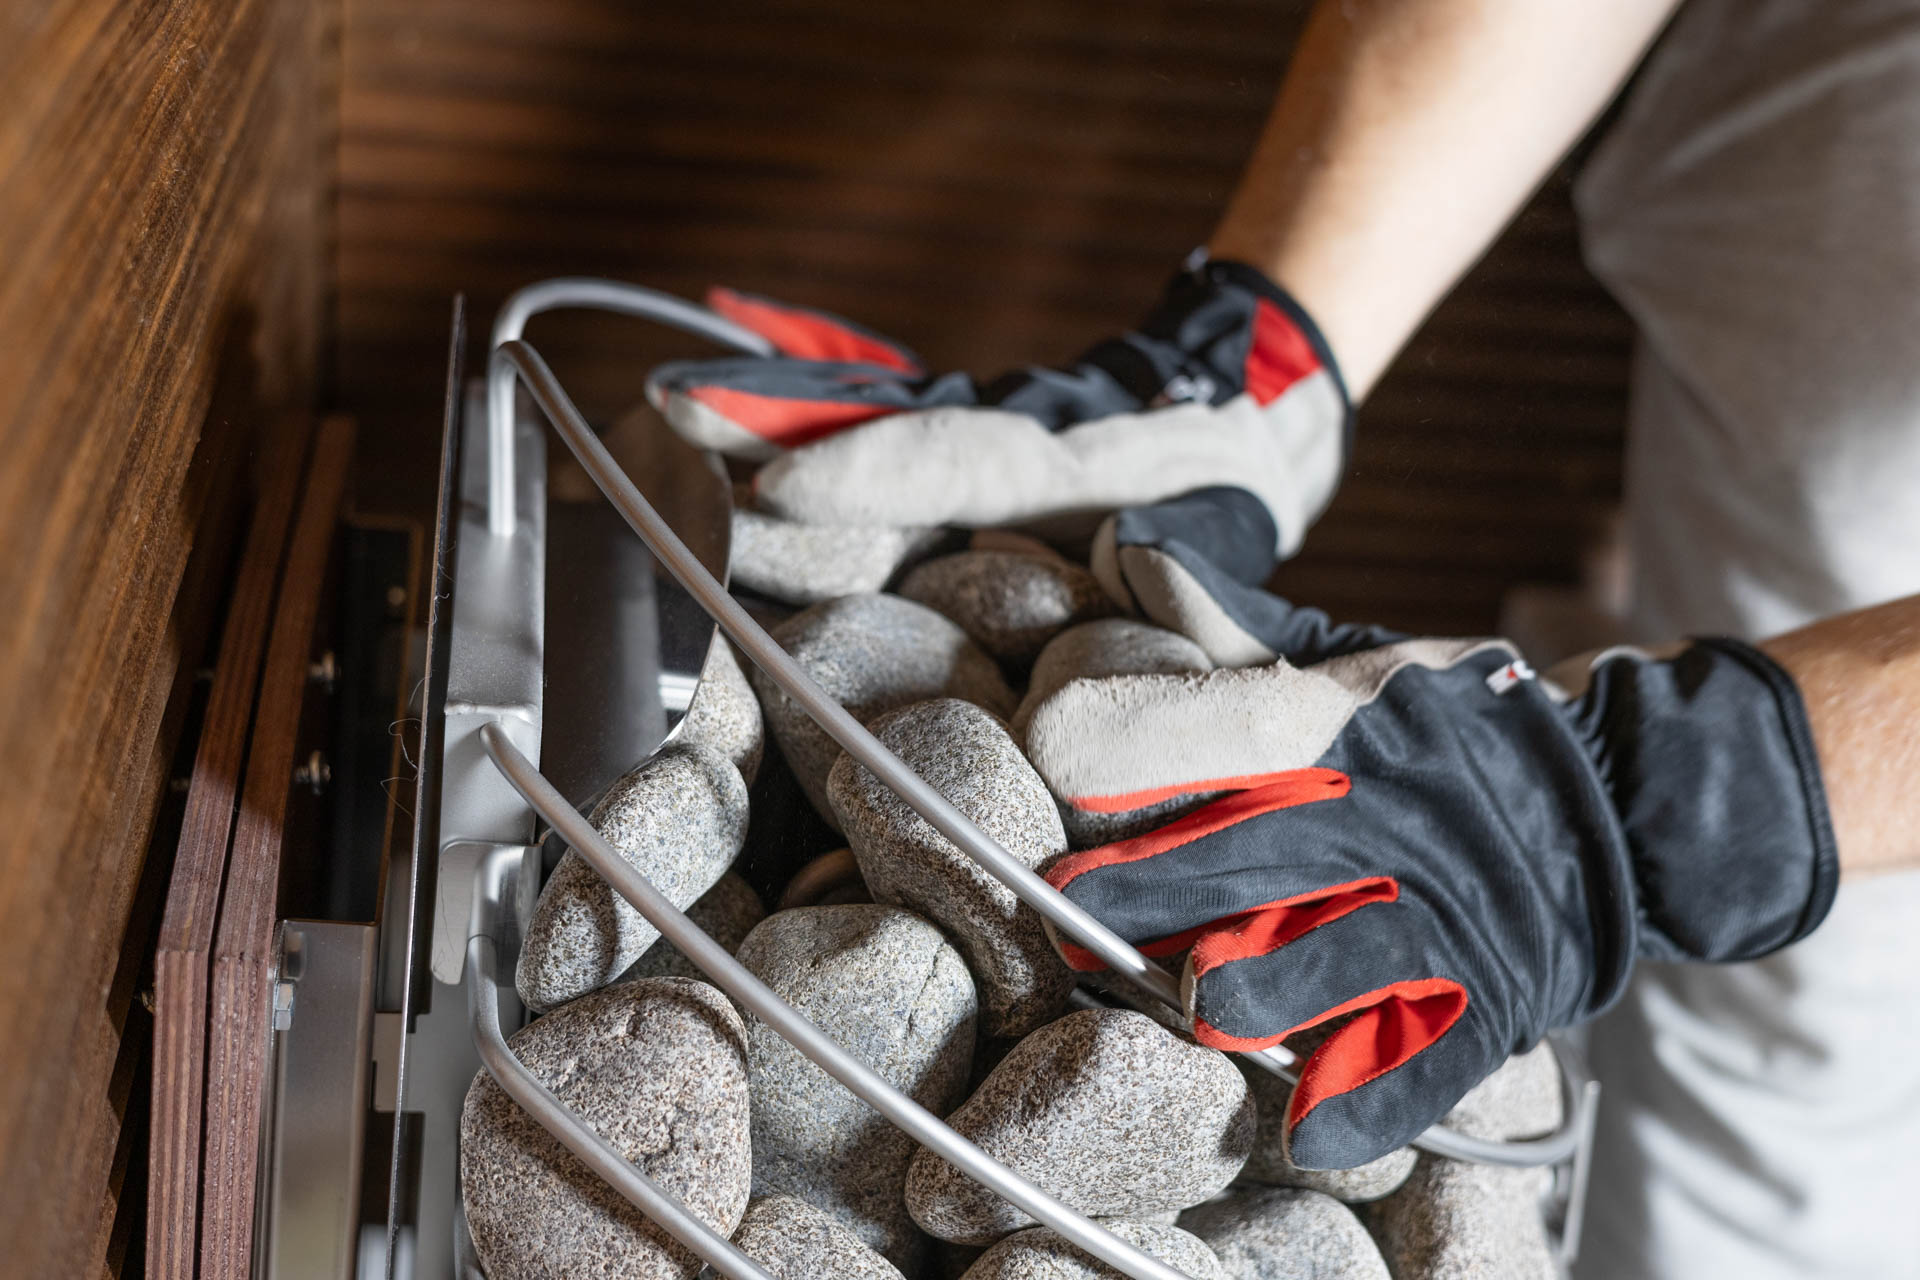
Step 5: Stacking the stones in the heater
Finally the stones are placed into the heater. Again it’s advisable to use a headlamp and gloves. If the heater has special structures or additional devices, such as a water tank, see the manufacturer’s instructions on how to install stones.
The process is slightly different between electric and wood-burning heaters. I will start with the former.
There are two rules for stacking stone into an electric heater:
- Don’t wedge the resistors
- Put elongated stones upright
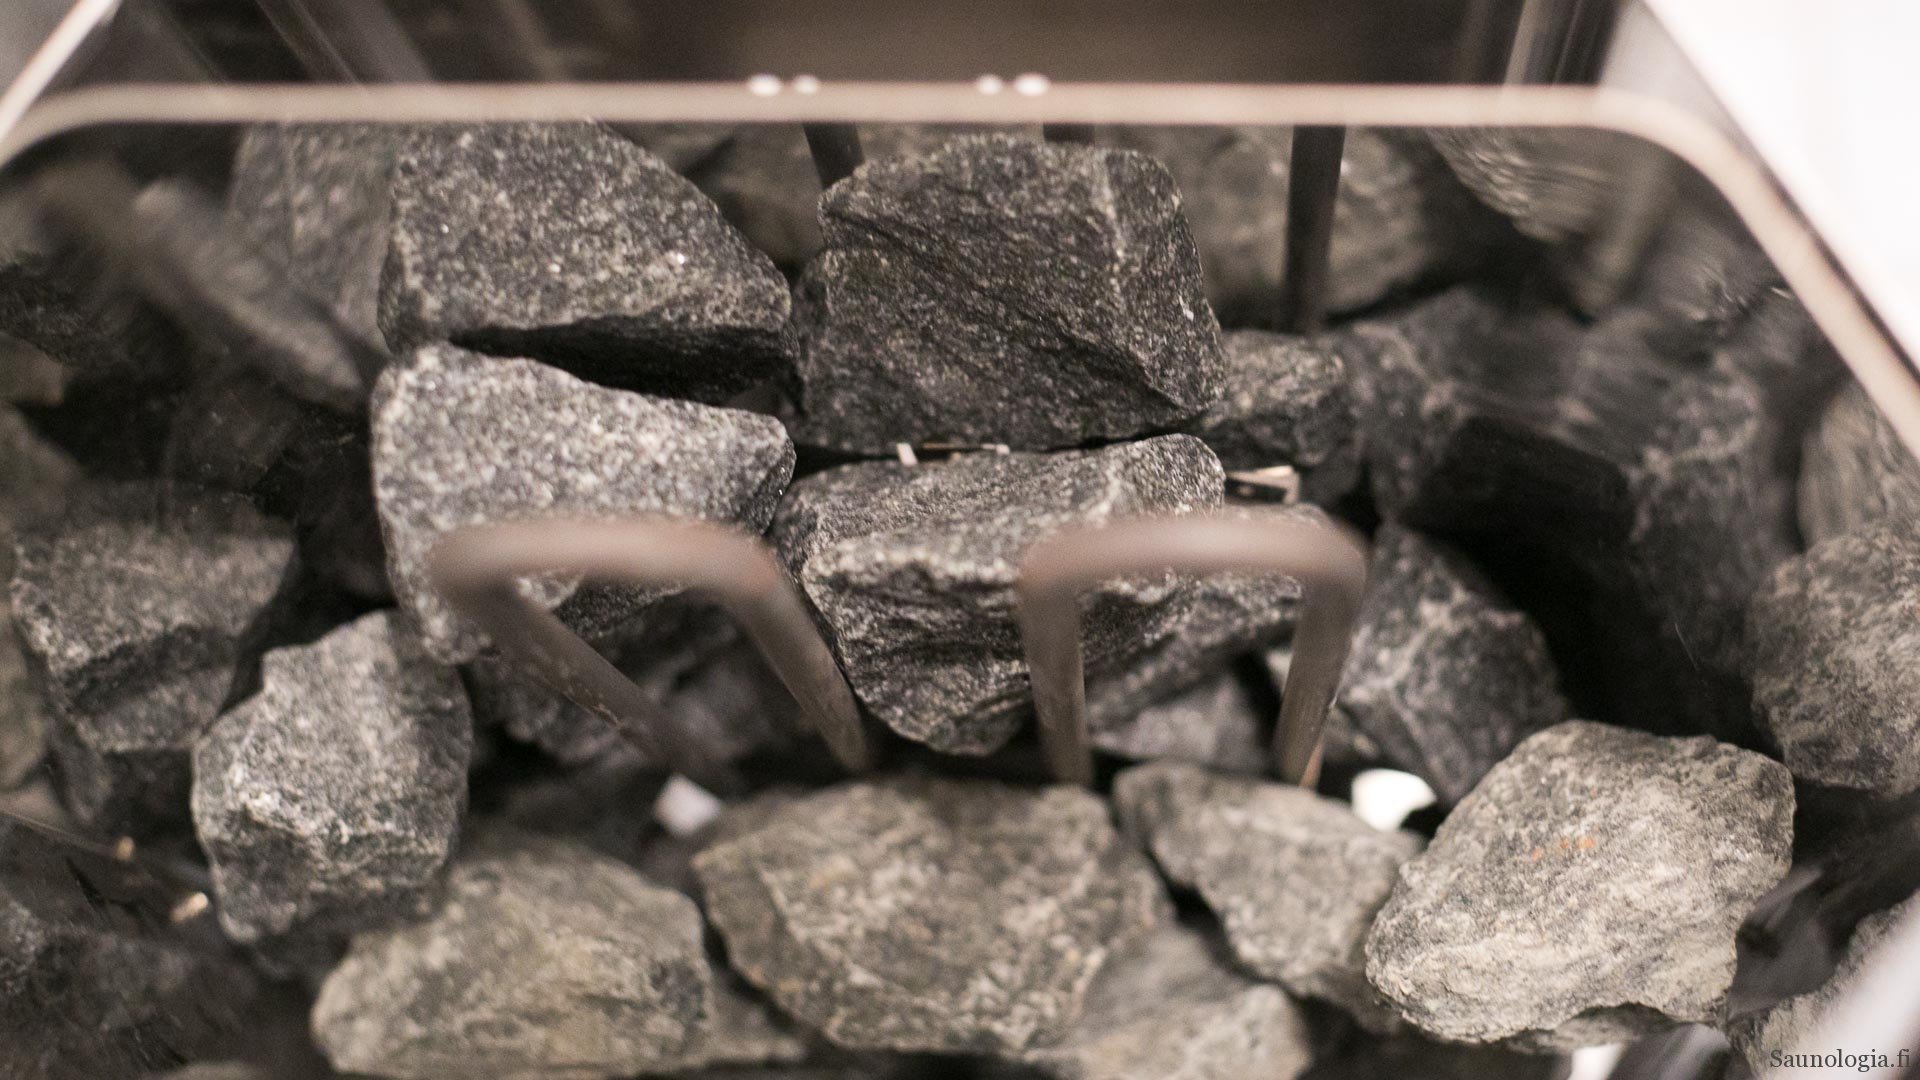
Stone stacking in an electric heater is done on the terms of the heating elements. These elements look like thick steel rods that heat the stones. The stones are placed tightly in between them but so that the stones do not wedge the resistors too tightly. Sharp edges of the stones can damage the elements when hot.
In small heaters, the spaces between the elements can be tight. Select stones so that they fit in place without bending the element strongly in the opposite direction. This is why it’s good to have enough stones so you can find just the right size. It’s also advisable to stack the stones evenly one layer at a time so that all the gaps remain the same size.
Split natural stones are usually elongated. The size indication for heater stones (5-10, 10-15, 15+ cm) refers more to the size of the stone sieve than to the length of the stones.
Elongated stones are preferably placed upright. This way, as much vertical air space as possible is left between the stones, where the heating air from the resistors rises unobstructed. With such stacking, the heater and sauna heat up the fastest. If you put elongated stones on their sides, the through-flow inevitably weakens.
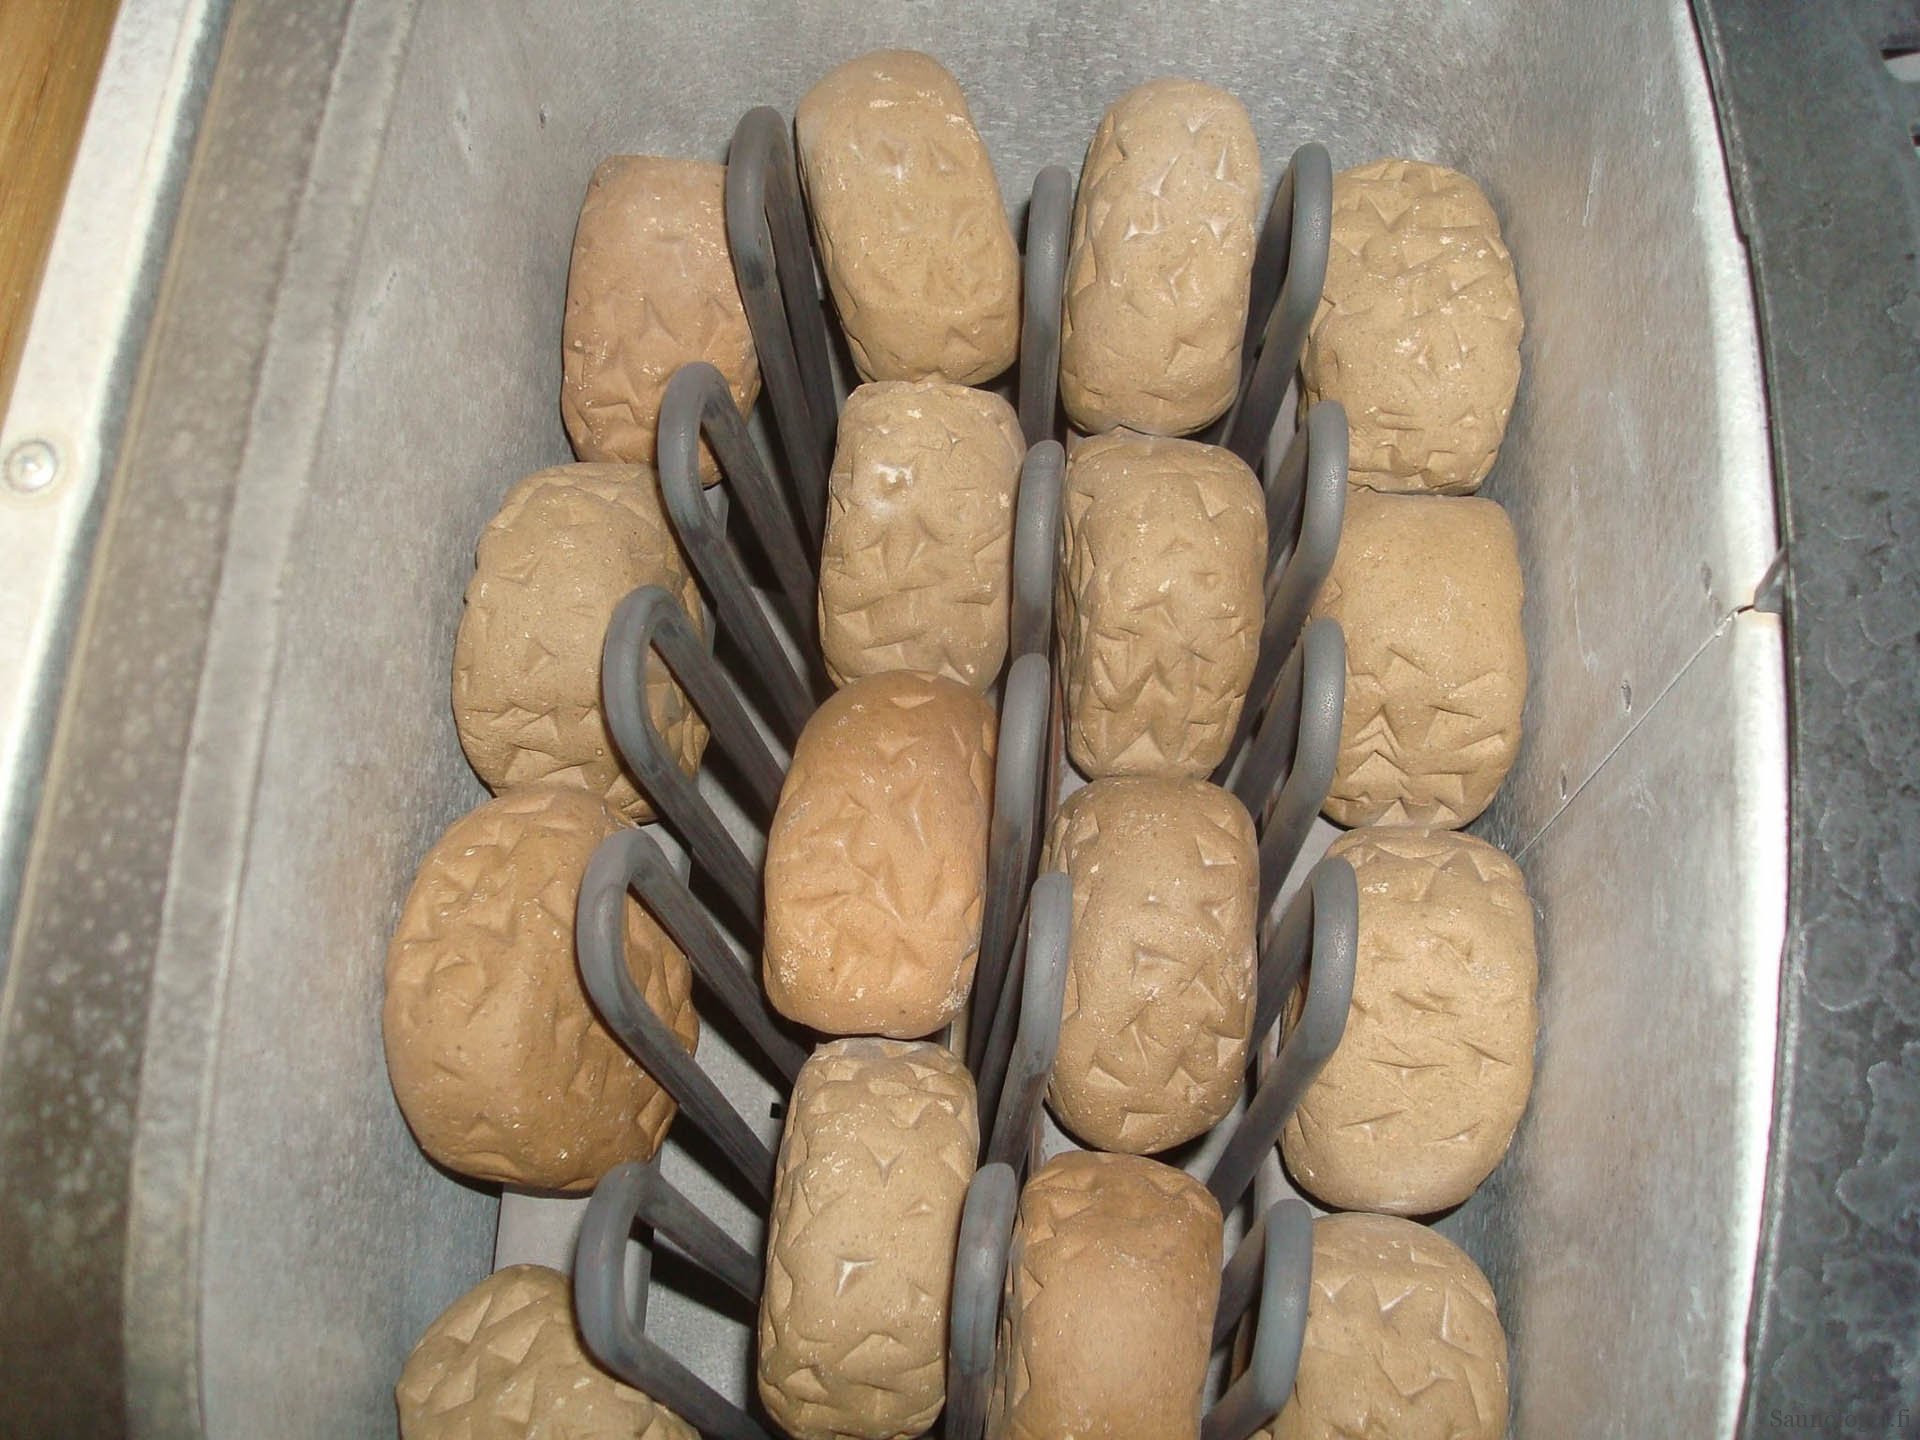
Kerkes Oy’s stacking example for their stones illustrate the principle well.
Stacking continues with these instructions until the heating elements are hidden. More surface stones or the same inner stones as in the lower layers can still be placed above the resistors. Don’t make a large heap above the surface, because the further away from the resistors, the less well the stones heat up (unless you specifically want to temper the steam).
You have achieved a very good outcome if the red glow of the elements disappears entirely from view once the heater is running. With mesh heaters, a peak of red here and there is not alarming; just make sure there are no gaping holes in the sides because this leads to unspecified radiative heating and potentially a fire hazard.
With a wood-burning heater, the installation process is more relaxed. I recommend keeping the stones upright, but otherwise, you can place them pretty much as you like unless the manufacturer has some special rules for the operation. Just make sure you don’t stack the stones too high. In “traditional” case heater models (not mesh heaters), which have numerous air channels in the sides, make sure the stones won’t block the airflow.

Step 6: Clean up, recycle, and enjoy
Finally, clean up the mess from the sauna. Recycle the cardboard boxes.
Used sauna stones are not hazardous waste. They can be used to decorate a flower bed or the side of a road. They can be disposed of with landfill waste in small amounts, but I recommend returning them to nature the shortest possible route to reduce the overall ecological footprint.
At this point, there’s usually a rush to test what kind of steam the new stones produce. However, natural stones will emit quite a smell during the first few heatings. I recommend preheating the heater so that you can throw a couple of steams and ventilate the sauna before bathing in it, so you don’t have to wonder how healthy the fumes are.
Now enjoy the steam with the new stones! You will probably notice the sauna heating up faster than before. If you change the type of stones, the steam might also feel different.
Harvia’s instructional video on stone stacking: